Only the Best for our Fodeez Friends!
It's taken a few months, but we wanted to make sure we found the best quality at the best price for our loyal and very wonderful customers! I can't tell you how happy the daily emails (especially the ones with photos!) make me - you all are so creative!

A special thanks to Dawn Phenix, my buddy from Texas who I've not gotten to meet in person, but who has been an email "consultant" who first used our frames to create a family tree wall in her dining room years ago. So many other customers came to me wanting to create a similar concept in their own homes, but we could never find a tree that looked as good as Dawn's right out of the package!
So we made our own!
Best Value for the Money
We first focused on cost. But that focus led us to vinyl that wasn't long-lasting, and it was flimsy. We didn't know that not all vinyls are created equal! While we could have chosen a vinyl manufacturer overseas for much less cost, the samples we tested didn't look nearly as nice as the vinyl we ultimately chose.
We wanted to make sure that if you took the time, it does take a bit of patience and effort to put up the individual pieces, to put up your carefully crafted and well-loved family tree . . . we wanted to make sure it would be there for years and look just as good as it did the day you installed it.
Many options
We started our line of custom vinyl wall decals with several options and price points. If you don't see what you're looking for, please let us know. Odds are, if you're interested in a particular vinyl wall decal design, many of our other customers probably are as well.

My new family mural is pretty big - 55" wide by 51" tall
Surprisingly Easy!
I wanted to see first-hand how difficult or challenging it might be to adhere the vinyl decals, so I put up a vinyl Monogram on the basement wall of our new home. I then surrounded the monogram with photos of my kids and dogs - all from the year the home was "Established" - 2018.
The custom vinyl family tree decals will take a bit more time since you'll need to cut apart the individual pieces, but the smaller pieces will be easier to adhere.
Start with a clean Wall
We just built our home and moved in a few months ago, so my walls are still pretty clean. The step-by-step instructions, though, will walk you through preparing your walls so that the decal will be long-lasting.
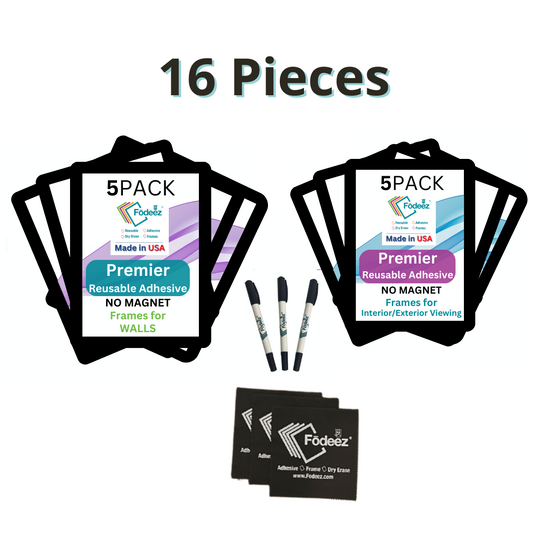
Frames may need a boost of adhesive
For my Fodeez® Frames, I didn't need to add command strips behind the frames because my wall is a somewhat smooth, matte finish. If you have glossy or textured walls, you're probably going to need to add some 3M command strip tape behind the corners of the frames. Dawn says she has tested many different products to boost her frame adhesive, and the command strips have worked the best.
Tools You'll Need
Now I'm normally not a measure-and-make-it-perfect kind of person. But since I knew I would be writing about the process and showing my work, I decided I probably should do things the way the instructions suggest. Here are the suggested materials, but I really only needed the tape (I used painter's tape because that's what I had handy), scissors, tape measure, level and squeegee. So pretty much everything except the paper towels and glass cleaner since my walls were already clean.

Get a Feel for How It Will Look
I wanted to get a feel for how the vinyl decal would look on my wall, so I first taped it up temporarily where I thought it would look best. The fact that I then took the time to measure and ensure it was centered and level is pretty amazing!

Measure and Center
As instructed, I measured the width of my wall, then found the center. Since the space I wanted to fill was 83" wide, the center of the decal should then be 41.5" from the end of the wall as shown. I placed a piece of tape 41.5" from the end of the wall. I probably should have had the tape just a little more level!

I then located the center of the wall decal. The decal was 29" wide, so the center was then 14.5" from the edge of the vinyl. It's important here to note that you want to be measuring the actual decal, not necessarily the liner.

I marked the center of the decal on the tape that I had placed at the top of the decal.

From here, I simply held up the wall decal to the tape I had marked as the center, and then leveled the decal before fulling taping it in place.

Use tape as axis
After ensuring the decal was level on my wall (if it looks a bit crooked, that's because my camera wasn't adjusted correctly - I promise my decal is perfectly level!), you'll want to place tape down the middle to be used as an axis as you remove the liner from the decal. I used one strip on each side of my middle mark since my tape was only 1" wide.

Remove Liner
I slowly removed the liner starting at the top left corner. I was careful not to disrupt the custom vinyl wall decal as I separated the liner from the decal. I stopped when I got close to the tape axis, and then cut away the excess liner. I was very careful not to let any of the decal touch the wall. If the decal had touched the wall, it would have stuck, and then I would have stretched the decal when trying to remove it.
WARNING: I'm going to repeat here. Do not let the decal touch the wall while you are removing the liner!!!


Smooth down decal using included squeegee
Every custom vinyl wall decal includes a squeegee. The video below shows me smoothing down the vinyl decal using the squeegee. Make sure you start at the middle and work your way out, completely smoothing down every bit of the decal so that it adheres to the wall when you remove the mask layer.
I've included the entire 5 minute video here of me smoothing down the decal so that you can see the entire process. Feel free to fast forward through the parts you don't want to watch!
Peel away mask layer - very carefully!
I slowly removed the mask layer after smoothing down the vinyl decal onto my wall. Note that I had a little bit of a stretch at the bottom of my "Y," but I was able to smooth it out a bit.
Here's the video of me removing the mask layer.
And, voila!

I love how this looks! Once the vinyl decal had been put in place, I selected 8x10 photos of my kids and fur babies - we have 3 rescue dogs that have enhanced our lives in so many ways that it's impossible for me not to include them on our family wall. The dogs are Missy (boxer), Rufus (lab/English bulldog) and Winnie (terrier/chihuahua).
Because our Fodeez® Frames are 8.5x11, I placed a sheet of white paper behind each photo and then centered the photo. I had to adjust a few photos to better align them - remember, I'm not always into measuring and leveling. I think they look pretty straight now, though!
I had to explain to my kids that only photos from 2018, the year we moved into our newly built house, could go onto this wall. My daughters, Abbie (16) and Emma (14) are planning to update their individual photos next weekend after their high school Homecoming photos have been taken.
Meanwhile, Tommy (18), who just started his freshman year at Bowling Green State University in Ohio had no input since he wasn't home when I decorated the wall. He's planning to come home next weekend to surprise Emma for her birthday. Shhhhhhhhh . . . don't tell!